
 Facebook
 X
X
 Pinterest
 Copy Link
My Fave: Jacques Torres Chocolate Chip Cookie Recipe

I found this Jacques Torres cookie recipe years ago, and I try to make them every Christmas. Not only is it an all-time favourite cookie of mine, I also have family and friends request that I make them.
They are soft, chewy and delicious—a real show-stopper. They take longer to make than standard cookies, but they are worth the fuss.
TOOLS:
Large Bowl
Whisk
Stand Mixer
Baking Sheet
Parchment Paper
Cookie Scoop (if you have one)
RECIPE:
Ingredients:
- 2 cups minus 2 tablespoons (8 ½ ounces) cake flour
- 1 2/3 cups bread flour
- 1 1/4 teaspoons baking soda
- 1 1/2 teaspoons baking powder
- 1 1/4 cups butter, room temperature (I used salted)
- 1 1/4 cups light brown sugar
- 1 cup plus 2 tablespoons granulated sugar
- 2 large eggs
- 2 teaspoons pure vanilla extract
- 1 ¼ pounds chopped dark or semi-sweet chocolate chunks or disks
- flaked sea salt to sprinkle
Instructions:
- In a large bowl, sift together (or whisk) the cake flour, bread flour, baking soda, and baking powder. Set aside.
- In the bowl of your stand mixer fitted with the paddle attachment mix the butter, brown sugar, and granulated sugar together for 5 minutes, until light and fluffy. Add in the eggs one at a time until mixed, and then vanilla. Continue mixing for an additional minute, scraping the sides as necessary.
- Turn the mixer to low and add the flour mixture until just combined. Fold in the chocolate until evenly incorporated. Cover and chill dough for 24-72 hours.
- When ready to bake, preheat the oven to 350°F. Line a baking sheet with parchment paper.
- Allow the chilled dough to sit at room temperature for 20-30 minutes before baking to soften slightly. Scoop out 3.5 ounces of dough for each cookie using a large cookie scoop—approximately 1/4 cup. Place mounds onto your baking sheet, spacing them 3- inches apart.
- Bake cookies for 15-18 minutes until the edges are golden. Turn your baking sheet 180- degrees once, halfway through baking.
- Remove from the oven and immediately sprinkle with sea salt. Allow the cookies to cool on the baking sheet for 5 minutes before transferring them to a wire rack to cool completely.
Notes:
- Instead of chilling the dough in a large bowl, you can scoop and measure it right away and chill it in prepared mounds on a large baking sheet until ready to bake. Baking chilled dough produces a slightly thicker cookie than room-temperature dough.
- Store airtight for up to 3 days. Or put them in an airtight container and store them in the freezer.
Nutrition
Serving Size: 1 Cookie Calories: 222 Sugar: 9.6 g Sodium: 91.4 mg Fat: 12.2 g Carbohydrates: 25.7 g Protein: 2.7 g Cholesterol: 49.1 mg
I hope you enjoy these cookies as much as I have over the past ten years! They melt in your mouth once baked; eating the cookie dough is equally delicious!
If you need a larger kitchen to make these cookies in, contact your Local REALTOR® today!
7 Signs It’s Time to Upsize

Have you ever thought about upsizing your home and being unsure when to go for it?
Upsizing your home can be intimidating, but there are a few telltale signs it’s time to do so.
Your Family is Growing
Your family is growing quickly, and your current home is overflowing with stuff! That two-bedroom home may work for children who are okay sharing rooms, but they may want their own space once they grow up. Not only do children (and pets) take up space in our homes, the garage and backyard can quickly become full of stuff too.
Even if you aren’t busting out the seams of your house, but you plan for kids or many pets, it could be time to upscale before you run out of room.
Being Able to Afford It
One day you will be in a better financial position, and buying a house might be a significant next step. After all, as they say, a home is an investment. Perhaps you finally got a better-paying job or that promotion you have been working towards—if you have weighed the pros and cons, and feel you can afford a new home, now is the time to go for it!
Needing More Space
Even if your family doesn’t grow with kids or pets, there is still that basic human instinct of accumulating stuff—whether you have started a new hobby or just existing daily, things seem to pile up continually. Upsizing would allow you to spread out more throughout your home and possibly have better storage solutions.
More space in your home can also provide more room to get that trampoline you have always wanted or a hot tub—inside, perhaps you want more luxuries, such as furniture or appliances.
Bigger and Better Furniture and Appliances
Lifestyles changing is one thing, but what about just wanting everyday luxuries, like a larger couch or dishwasher? I would love a dishwasher in my kitchen. A finished basement is also on my list to entertain guests easier in a separate space with a wet bar and projector screen.
Making Room for Pets
If there is a reason to up-size one’s house, it is to allow for additional pets or provide a great space to take care of them—whether that be room to have their bed and food in or even an indoor pet bath and foyer.
Entertaining Guests
One of the reasons I want to have a larger house is to entertain guests easily and have bigger groups come over. The responsibility of gatherings usually falls on a few people in the group—but being able to host from time to time sounds excellent too.
Having a bigger home will finally allow you to comfortably invite over all those people you couldn’t have over before in your smaller accommodations.
Relocating
Relocating to a new area or another town will allow you to get more bang for your buck. We all have relocated at least once, which can open up an excellent opportunity to upsize your home.
Some homeowners might want to stay in the same home because of the memories made there, but sometimes running out of space might be a more significant reason to change houses. If you notice these signs, it might be time to upscale your home. Make sure all your finances are in place, and make a list of needs and wants before searching for the perfect house.
Your Local Realtor® can help you discover the best-upsized home for you!
How to Build the Perfect Snowman

Making a snow person was my favourite pastime when I was a kid. I used to create families of snow people, including pets, and a home for them to live in. There is a bit of science behind the snow consistency and the success rate of building the perfect snowman.
The Right Snow
Proper snow consistency is key to making a snowman. Look for dense, wet snow that falls or is already on the ground on a warmer day. Stay away from cold days or blizzards like snow falls for snow person building—nobody wants to be out there anyways.
Location, Location, Location
Make sure you find a perfect location for your snowman to show it off. When I was a kid, I used to build my snow person in front of our living room window, so I could gaze upon it and say hello! The best spot to build a snowman for longevity is in a shaded part of your yard and/or in the center area where you roll your snowballs.
Best Structure
Build your snow person like a “pyramid” with a large ball at the bottom. Medium-sized for the tummy and a smaller one for the head! The smaller the snowman, the more structure it will have. As you increase the size, it becomes less stable. Once in a while I would make a 6ft snowman with the help of my dad or grandpa to add the finishing touches.
Rolling it Up
Start by making a larger-than-average snow ball (you know, the kind you throw at someone)…then start rolling it around in the snow and watch it magically become larger. Roll it around until you can’t physically push it anymore or until you are happy with the size. Once the main snowball is ready, pack snow around the base to make it extra secure to the ground.
Flatten Each Ball
While rolling each ball, make sure you stop from time to time to pack it down and ensure it’s a solid ball. Remember to do this for building the actual snow person—pat down a flat area between each ball to strengthen the structure.
The Perfect Accessories
My mom always had an old box of too-small hats and gloves for us to use for our snow person. That way, if they blew away or someone needed it, we wouldn’t be sad to let them go. We also had a gravel driveway that provided many rocks for the snowman’s eyes, nose, and buttons—and a garden for a carrot for the nose. Deer would often come into the yard and eat the nose!
If you are going for a certain aesthetic, try matching the snow person to the scheme of your home or outside decor. Try an ugly sweater on it or an old jacket for an extra bit of whimsy. Don’t forget to add branches for the arms!
Building a snow person or a snow family is a lot of fun for the whole family or alone. Plus, being outside is a great way to boost your mood and get active.
Contact your Local REALTOR® today to find the perfect home and yard to build a snow person in.
6 Tips for Selling Your Home
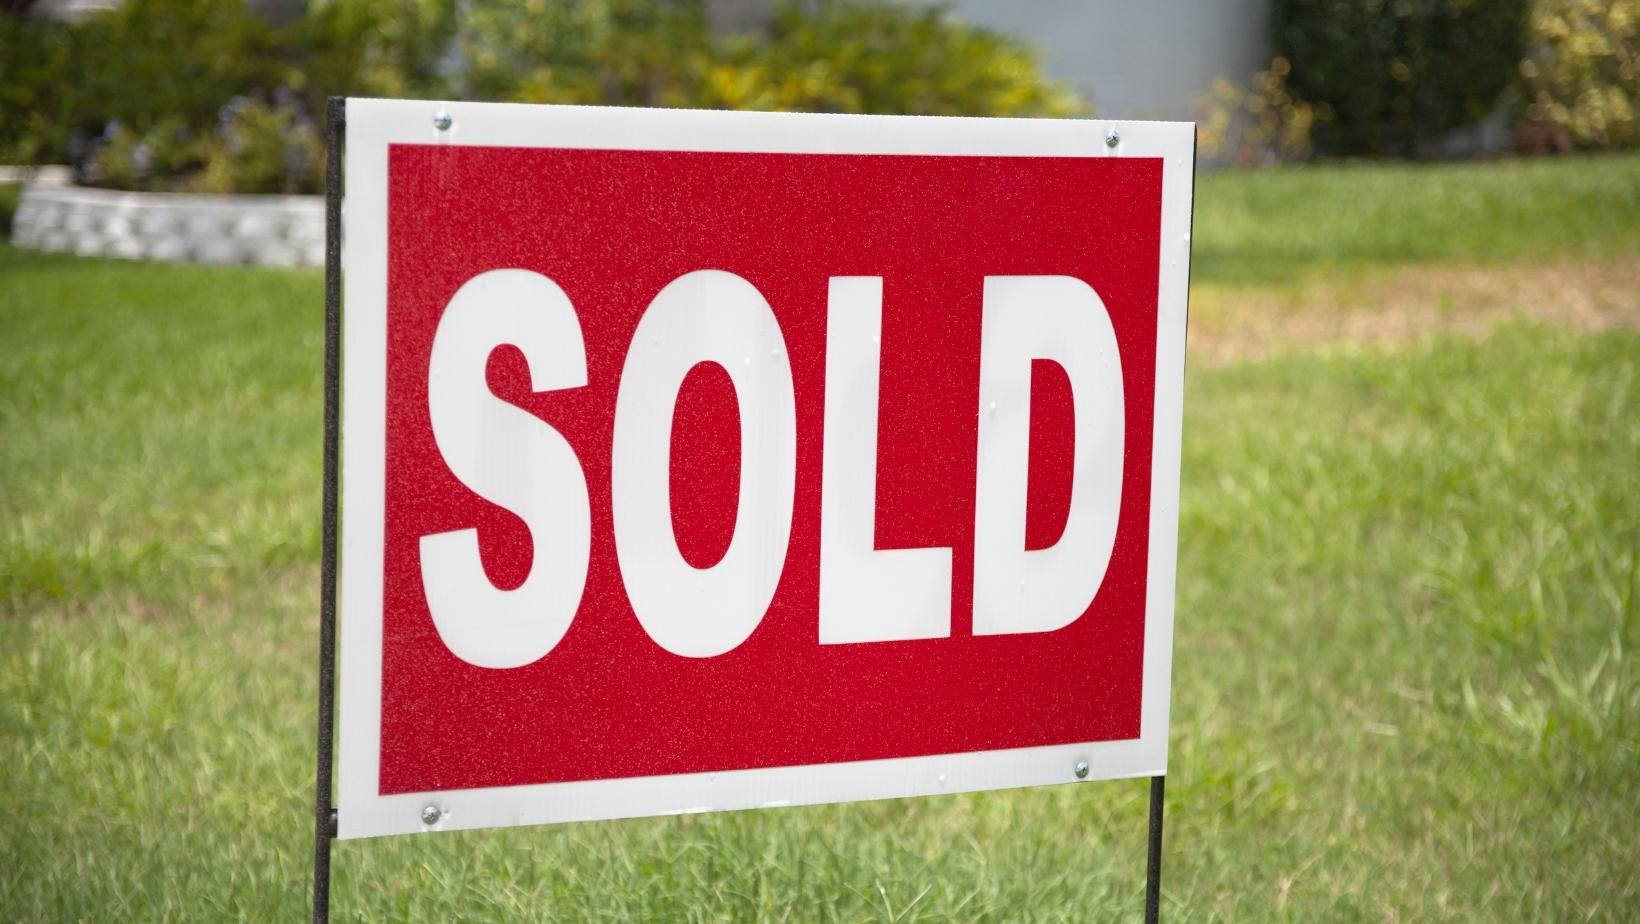
Do you plan on selling your home soon? Whether you are selling to accommodate your growing family or retiring and downsizing to a smaller home. This helpful guide will give you a few hints and tips to make selling your home a breeze.
Should You Hire a Real Estate Agent?
Whether you sell your home privately or with a listing agent is entirely up to you. Both choices come with various pros and cons.
If you choose to sell privately, there are no real estate agent fees, but the time and energy needed to try to sell your home this way might not be worth it. A realtor will have many connections, experience and knowledge that you, as a homeowner, lack. They are an excellent liaison between the two parties, know how to fill out paperwork and will have a network of buyers and the best inspectors and lawyers.
Whether you choose a real estate agent or sell privately, these tips will still be helpful.
Tip 1: Know the Market
The real estate market fluctuates a lot. It can be hard to know the climate of the market and who has the advantage if it’s the seller or the buyer. Check real estate reports to know if the market favours the seller or the buyer. If the market favours the seller, there will be low inventory and the quick sale of homes. If the market favours the buyer, there will be an abundance of inventory and a slow sales rate, with homes sitting on the market for weeks to months. This depends on the economic situation, national interest rates, location, and other factors.
Tip 2: Decide on a Listing Price
One of the best tips before selling your home is evaluating its worth in the current market. Your realtor can provide a Comparative Marketing Analysis at no extra cost. This analysis will look at a combination of factors, including features of your home, upgrades or renovations, the tax-assessed value of your property, and the selling price of comparable homes in your area.
Tip 3: Pick the Right Season
The season when you sell your home is equally as important as picking a listing price. There are pros and cons to selling in winter and warmer months.
Winter has lower inventory overall, so attracting buyers and offers is easier. There are a few drawbacks to selling in winter, though. Snowfall can make it hard for buyers to view your home and hide important features such as foundation and landscaping—let’s face it, moving also sucks in winter. Try to list in autumn before the first snowfall to avoid this issue.
Spring and Summer usually have the highest amount of inventory to hit the market. An active market with more competition for you as a seller. This might be the ideal time for you to sell your home. Consider listing your home at a competitive price to attract more offers if that is the case.
If you are not looking for a quick sale, try listing your home in autumn. It is a great time to list because summer is winding down. It is easier for your home to stand out as fewer homes are on the market. There is changing leaves everywhere in autumn to enhance the beauty of your neighbourhood.
Tip 4: Staging & Marketing
Staging is not only a great way to show off the potential of your house to prospective buyers but also makes the home very appealing in the listing photos.
Start by decluttering things you don’t need every day and de-personalize the space. If this seems overwhelming, there are many home staging businesses out there that can help you.
Click here to open a comprehensive guide to staging your home.
To market your home, include these details in your listing:
- Good quality professional photos
- Photos of your home’s exterior and yard in various seasons–focus on exciting features like a tiered deck, pool, etc.
- Drone aerial Photography and videography of the property and neighbourhood. This can significantly improve the potential for a sale by up to 70%.
- Showcase interesting details and wow features of your home. (fireplace, finished basement, kitchen upgrades, etc.)
- Provide information about amenities, schools, shopping in the area, and walkability to these places.
- Bonus if you can have a video virtual tour or 3d tour of your home created for you.
Tip 5: Showing Your Home
Most interested buyers want to see a home in person. There are a few ways to accomplish this: an open house for multiple showings at one or scheduled showings.
Before viewers arrive, try to put things away and deep clean them beforehand.
Tip 6: Offers
In an ideal world, you would get multiple offers on your home, and you can select the best one for you. You can accept, counter or reject any offers you receive. Look out for offers that have unappealing conditions or contingencies that must be met before the sale goes through. The buyer’s conditions could be various asks, the most common being a home inspection, secured financing or the sale of their own home.
Review the paperwork with a lawyer when you get the right offer and are ready to accept it. There might be additional requests before the buyer agrees to close, such as including all appliances or requesting a repair. Your lawyer will ensure the paperwork goes through to the transfer of ownership.
Now that you have read through this selling your-home guide, I hope you feel a little more comfortable starting the process yourself.
If you are looking into selling and/or buying a new home enlist the help of a trusted REALTOR® to help you through the process.
Creative Home Staging Tips
It’s essential to showcase your home in the best way possible to potential home buyers. The more staging the home has, the more people will be interested in viewing the house and then buying it. Here are a few staging tips to consider before taking photos of your home and also opening your home for viewings.
Areas of Influence
Curb appeal is the first place to start when staging your home, and the first impression people have—think of a nice green lawn, flowers and trimmed trees. Inside the best areas to stage are the most high-traffic rooms, such as the kitchen, living room, main bathroom and primary bedroom.
New Perspective
Try rearranging your furniture or removing pieces of furniture to open up the space. We see our homes the same way daily and grow accustomed to the layouts. But what will potential buyers see? Move furniture around to create a nice flow through the house so that viewers can see the space’s potential. If you are unsure how to accomplish this, call in the professionals.
Keep it Simple
Staging doesn’t have to be expensive. One affordable staging option is to remove personal items and clutter. Simplifying the objects in your house and decorating them with key pieces will appeal to more buyers.
Curb Appeal
A buyer first sees the front yard and entrance to your home. Ensure your lawn is mowed, trees are trimmed, and walks are swept. No need to re-landscape your whole yard, but having a tidy yard will pay off in dividends. Some other great suggestions include power washing all the siding, eaves, decks and driveways. Paint the front door a bright colour that compliments your home. Replace or paint any diminishing features of the house, and spread out an inviting welcome mat while you’re at it!
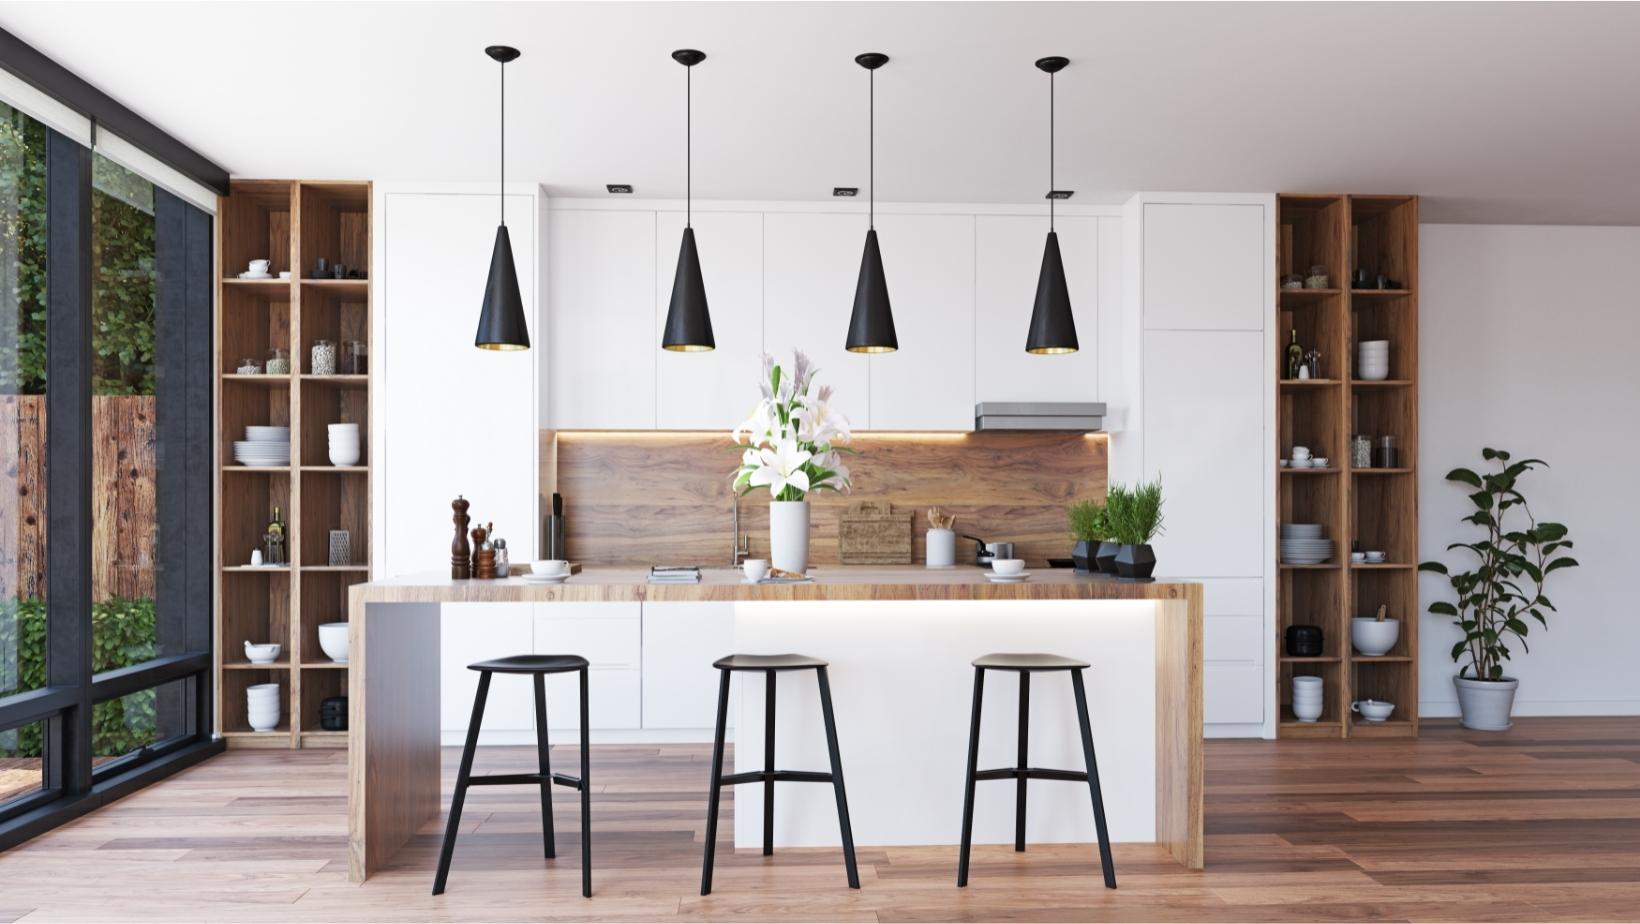
Kitchens
Kitchens are the feature that attracts most home buyers. Create an inviting space by deep cleaning your kitchen, including inside cabinets and behind appliances. Make the handles and appliances sparkle. Remove countertop appliances that aren’t used or kitchen clutter, like paper towel dispensers, to show off the counter space. Stage the kitchen with vibrant fruit bowls or well-appointed objects. Organize and destash your cupboards, so everything looks in order and has the appearance of lots of space.
Furniture Placement
Furniture placement can make or break your buyer’s experience. Your space will look cluttered and small if there is too much furniture. Create a mood in each room with the furniture, typical furniture along the walls is dull, adding a bit of life to the house by changing the placement. Clean furniture and crisp bed coverings are a great way to make a home feel inviting. Show off the best features of your house by strategically placing furniture around fireplaces or great architectural details. Lines of sight to the windows will make all the rooms feel bright and more open.
Bedroom Makeovers
A tremendous primary bedroom adds a lot of value to a home and will bring a sense of comfort to potential buyers. Everyone wants to sleep in an oasis, and it can be effortless to transform your bedroom into one. The bed is the main focal point of any bedroom, so make sure the bedding is tucked in and clean—make it feel like a hotel room. Another nice add-on would be creating symmetry with matching nightstands and lamps.
Set the Mood with Light
Lighting is so important when selling a home. Before showing the home ensure all the curtains are open to flood the space with light and warmth. Replace all light fixture bulbs with warm ones, so every room has consistent lighting. If possible, have a few types of lighting, ranging from ambient, task and accent lights—having a variety of lights set the perfect mood for night or day showings.
Keep Things Fresh
You may want to add some greenery to your home to add a bit of coziness and life, however, steer away from plastic plants and flowers. Opting for natural plants and flowers is great for staging and creating life in your home.
Finishing Touches
The finishing touch on staging your home is removing all your personalized items so that homebuyers can have a blank slate to envision their stuff in it. Replace family photos with generic artwork. If you have decluttered everything, try adding back in some texture pillows and throws. Simple objects staged together in groups of three can showcase features of your home, like the fireplace mantle or built-in bookshelves. Play with scale, colours, shapes and textures of items to engage people’s interest.
Taking the time and effort to stage your home will be worth it when you sell it quickly. Following these staging tips will help you show off your home’s best features, and with any luck, you will be able to sell your home for top dollar. The more presentable your home is, the more it will stand out from the competition and elevate the perception of its value.
If you are interested in buying or selling your home, contact your local REALTOR® today!
5 Things to Know About Buying Rural Property

Many homebuyers are looking to escape to a rural property and avoid the hustle and bustle of the city. It may seem like a dream to live a quiet country life, but there are a few things to consider before taking the plunge.
1. Check the Zoning
It is vital to check how the rural property is zoned. The zoning will dictate how you can use the land, what types of buildings are allowed and the location. The property might be zoned as residential, agricultural or country residential, among other titles.
How the property is zoned can affect lenders, the amount you qualify for, and what you can do with the property. Some lenders are hesitant to finance agricultural/country residential zones due to differences in lending and foreclosure processes.
2. Property Boundaries
Once the property has been zoned correctly, the next step is to book a survey. A survey will mark the property boundaries and avoid any future controversy. Now would also be a great time to appraise the land and its value.
3. Considering the Land and your Mortgage
In most cases, lenders follow the basic mortgage formula: one house, one outbuilding and up to ten acres of land. What purchasers don’t realize is that the amount of land can drastically affect the mortgage qualification and what you can borrow. If there is extra land or additional buildings on the property that is being purchased, consider that you will need over 5% of the typical down payment.
4. Water and Sewage
Rural living can have various water and sewage options, from city water and sewage to private wells and septic tanks. Plan to get an inspection done to ensure everything is safe and working correctly and make it a condition of the purchase offer, including testing the water quality and getting the septic tank inspected. Inspections outside the city will cost more than inside the city, but having a piece of mind will be worth it. The inspection will be an essential step as lenders will sometimes request potability and flow tests.
5. Coverage Matters
Coverage becomes very important when living outside of the city limits. Here are the top two rural property coverages you should consider:
- Home insurance: It’s no secret that home insurance costs more for rural properties due to the distance from the city’s fire stations and hydrants, but it is vital to purchase.
- Title insurance: This is the other essential insurance to purchase. It will protect you from unforeseen disturbances with the deed or transfer. It will also make you aware of any improper use of the property (i.e., dumping waste).
Here are a few guidelines if you are considering purchasing a home or land in a rural area. However, there are many more things to ponder. Seek a mortgage professional specializing in rural properties and locations to make buying one easy.
Contact your local REALTOR® who is familiar with the countryside properties to aid in your search today!
Moving and Selling with Pets
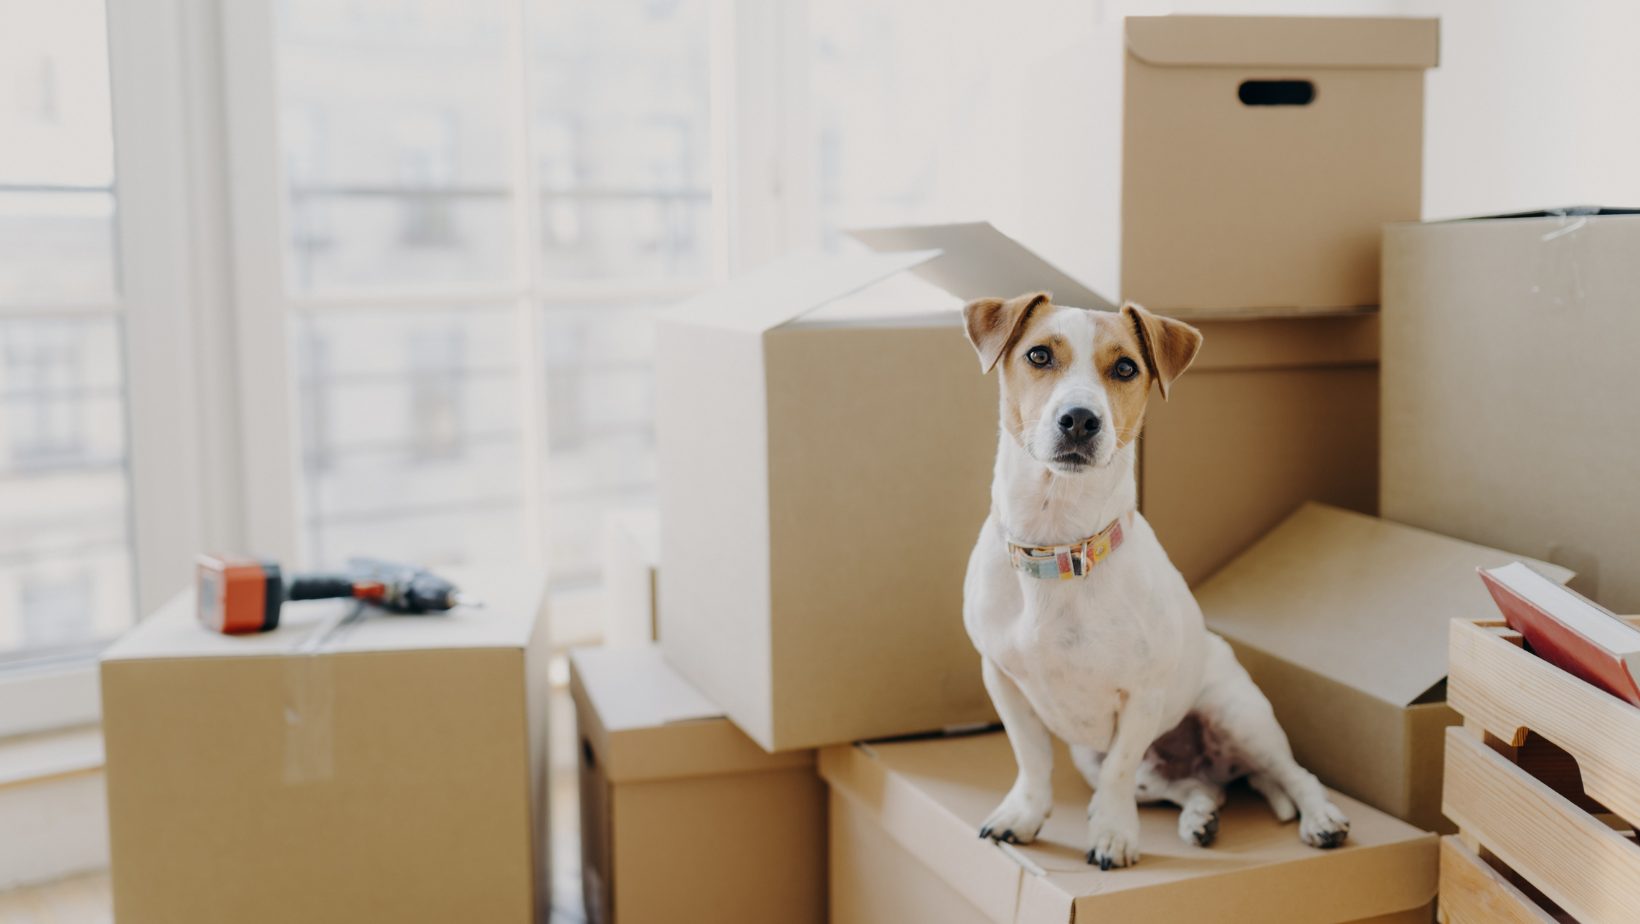
Buying or selling a home with pets can seem daunting for everyone involved. Here are a few great tips to make moving with a pet easier.
Buying a Home as a Pet Owner
Pet owners buying a new home should consider their furry friends’ current and future needs. This can restrict the number of house choices available and create additional expenses to make modifications. Some pet-owner questions to ponder are:
- Where can I take my dog outside to play or pathways to walk on?
- What time do I walk my dog, and will I feel safe walking in the neighbourhood then?
- Is there a yard for my dog?
- Is the yard fenced for safety?
- Do the neighbours have dogs too?
- Are there any pet restrictions (primarily condos)?
Condo Life and Pets – What Should I Think About?
Before falling in love with a condo or townhouse, start by investigating the pet restrictions. Whether you have pets or plan to in the future, check the condo board rules. In general, condo townhouses have fewer restrictions than condo apartments. You should be able to inquire about pet rules and regulations through your REALTOR®, the condo property manager or by checking the by-laws (on the unit’s status certificate).
Some common restrictions are as follows:
- How many pets can you have?
- Is there a specific weight limit?
- What type of pets can you have (some condos only allow cats, for example)?
- Limits on pet noise?
- Rules about where pets can relieve themselves?
- Rules about pet access?
- Do you have to register the pet with the building?
- Are there extra fees to have pets?
I Have Pets and am Selling my Home – What to do?
When selling your home, you want it to appeal to the masses—both the buyers who love pets and the buyers who do not. Firstly, to attract the attention of pet owners, mention things about the property, like a fully fenced yard, near parks, and let buyers know about the pet restrictions (if there are any). The second crowd you need to appeal to is the pet-free crowd. Many buyers have pet allergies and get nervous about the “dirt” that animals leave behind. If possible, deep clean the whole house before each showing, and remove any signs of a pet and your actual pet.
The key takeaway is that you remove the pet(s) before showing a home to eliminate distractions. On the other hand, animals can also get stressed with strangers in their house, and the last thing you want is to have your cat, dog, or rabbit run out through an open door. Ask your REALTOR® about giving you a heads up to remove your pets before they bring clients.
If you have some furry friends and want to buy or sell comfortably, let me help you find the perfect house!
5 Dog-Friendly Patios in Saskatoon

Saskatoon has a variety of restaurants, but have you ever wanted to bring your four-legged friend along for a meal?
Never leave your dog at home again with these delightful restaurants with pet-friendly patios.
Prairie Sun Brewery
Prairie Sun is located just after the bridge on Broadway. It is easily walkable with your furry friend from downtown and surrounding neighbourhoods. Sit down, drink a beer and eat some delicious food on their sunny patio, which is open for dogs and people alike. Prairie Sun started as just a local craft beer brewery and has expanded into the restaurant hot spot it is today.
Leopold’s Tavern (Rosewood)
The Rosewood location of Leopold’s Tavern has a great dog-friendly patio, enclosed with a backyard vibe. The patio features an exclusive pet and person-side entrance. The staff graciously greets you with a treat for your dog. Enjoy elevated pub food and a great selection of drinks at the Tavern.
Stumbletown Distilling
Stumbletown is a new establishment on Quebec Avenue, off Idylwyld—an easy walk from Mayfair or Caswell Hill. The quaint patio is a great place to bring your dog, have a few drinks, munch on some snacks and unwind. The distillery makes various flavours of gin and gin cocktails. On your way out, grab a bottle of gin to take home!
Cohen’s Beer Republic
Cohen’s is located in Riversdale on the corner of Idylwyld and 20th Street. You can’t miss the curved dark blue building! There is a small, yet mighty, patio for you and your dog to enjoy, which is very walkable from downtown, Riversdale, or other surrounding neighbourhoods. They have lovely drinks and an eclectic menu — sure to please anyone.
City Perks
City Perks is an adorable local cafe in the heart of City Park. A semi-enclosed deck is an excellent place for your pup, and it’s well shaded with mature trees and table umbrellas—a quick walk from the river pathways and parks along Spadina. The cafe’s food, drink and dessert menus are incredible. Bring your dog and stay for the cheesecake.
Make any outing more enjoyable by bringing your dog with you to these yummy Saskatoon restaurants. All of these eateries have a nice patio space to share food, drinks, and a water bowl with your four-legged friend!
Inexpensive Tricks to Bring Luxury into Your Home
Want to jazz up your space to be luxurious but don’t have a lot of extra income? There are numerous things you can do on a budget to give your room a touch of class.
Keep reading for great tips and tricks to get those luxury vibes without burning a hole in your pocketbook.
Impactful Lighting Fixtures
If your light fixtures look dated or no longer fit the vibe of your home, think about updating them with statement light fixtures. A statement light fixture is an excellent investment, it creates an elevated look and focal point in your space.
Some excellent affordable options would be buying a cylinder shade or drum for your existing lights. Vintage shops or discount home stores might be another great place to look.
Mirror, Mirror on the Wall…
Mirrors reflect a sense of space and openness. They are relatively inexpensive, easy to find, to hang and instantly change the look of any room. Mirrors visually add square footage and bounce light to create a brighter space.
Try adding mirror closet doors to make any bedroom look bigger or create a statement wall of different mirrors, ornate frames or otherwise. Mirrors are great for mixing and matching sizes and styles.
Accent Tables for Practicality and Style
An accent table is a practical solution to add a touch of elegance to any room. Go for a mixed material table to add flare. Placing a table between two chairs or a sofa can elevate any space.
Fresh Painting or Wallpaper
Painting is probably the most common way to change a room, and it boasts a lot of impact for not a lot of money. Once popular paint colours like whites, greys and blues are fading away, clients opt for natural, cozy tones like creams, taupes, and beige. For an eclectic vibe, seek purples, chocolates and even hunter greens.
Wallpaper is a little more complex to install and pricy, but a great one can be a showstopper. It is also great for hiding existing wall imperfections or covering an unpaintable older wall. Try wallpaper in a hallway, accent wall in a bedroom or make a mundane small bathroom pop.
Switch out Furniture Hardware
It is easy to forget how much furniture impacts a room. If your furniture feels dated or isn’t fitting within your space anymore, try changing out the hardware. Updating the knobs and handles of a piece can bring a more modern or vintage look, depending on what style you like. In the kitchen, it’s nice to update the handles frequently to keep it chic.
Transform Chairs with Fabric or Paint to Luxury Seating
For the past few years, painting and reupholstering old furniture has been all the rage, and it’s not stopping anytime soon.
Having a set of chairs that coordinate with the rest of the room brings in a luxe custom feel. Pick a paint colour that is part of your existing room colour palette. Paint your chairs and then look for fabric to upholster them.
Choose a fabric that encompasses the colours of the existing room’s decor and the new paint colour. The textile can be as tame or wild as you want. Try a solid or bold pattern.
You only need a little bit of fabric for this transformation project, so go ahead and invest in a luxe, high-end or designer one.
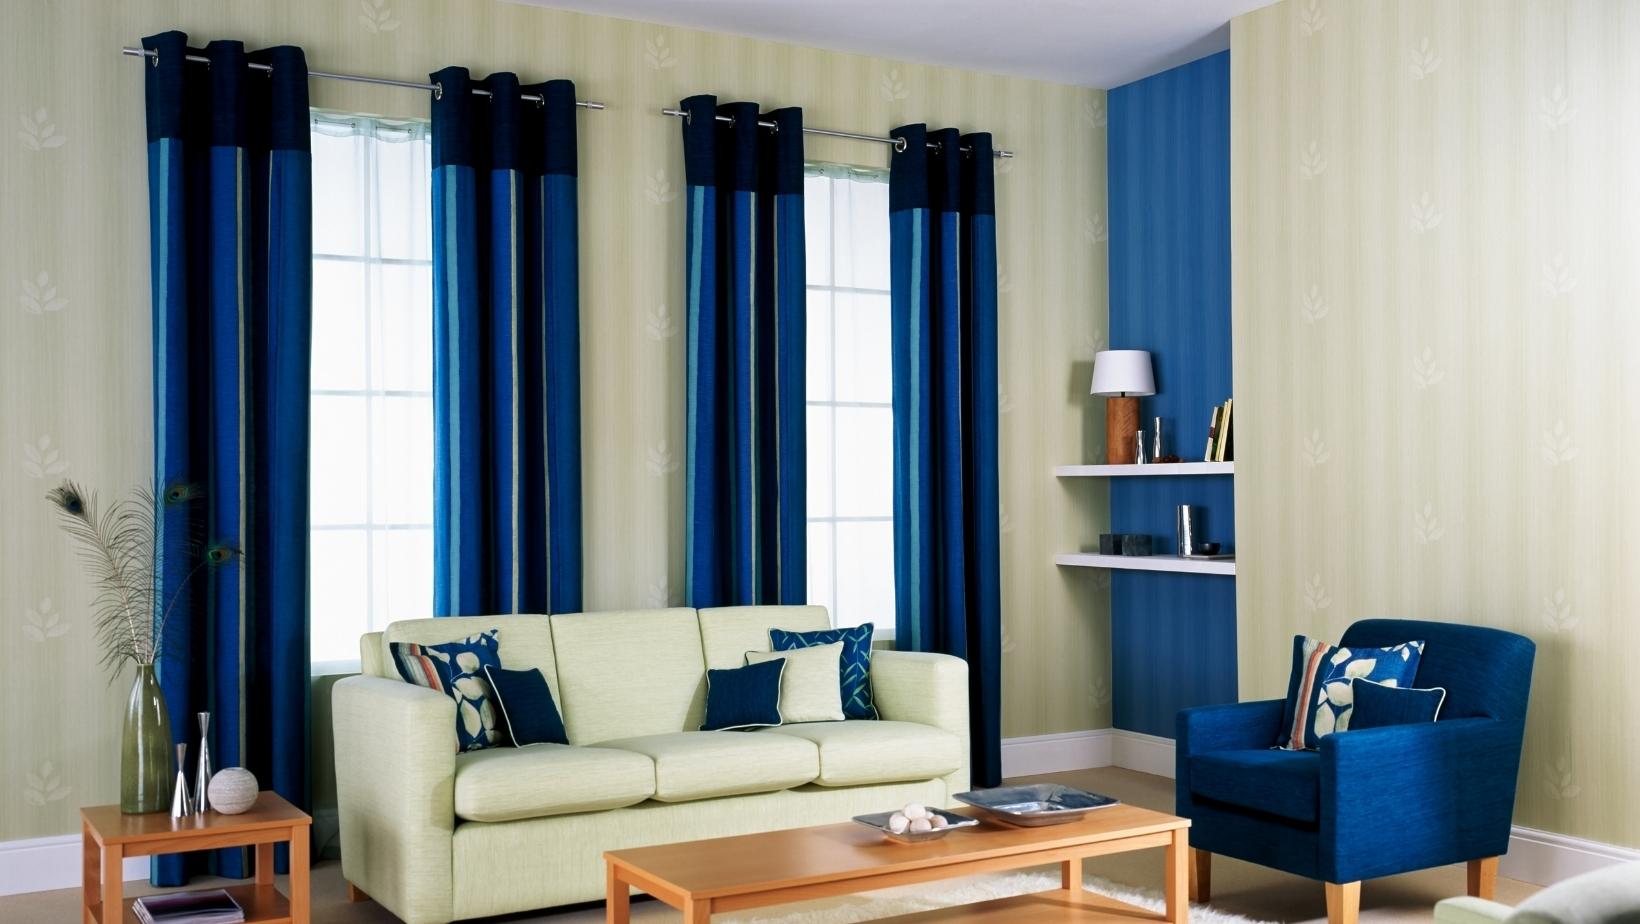
Dramatic Floor-to-Ceiling Curtains
Layers, whether in clothing or a home, always make everything look put together. Instead of adding just a basic curtain, try hanging curtains from the top of the ceiling for a dramatic effect.
Curtains hung from the ceiling help to visually create more height and space by drawing the eye upwards. Pick a light, airy fabric to let the natural light seep in.
Buy curtains that are longer than needed and trim them from the bottom, rather than getting custom-made curtains—an excellent cost-effective option.
Make an Impact with Small, Bold Accessories
Accessorize your space with objects that don’t blend in; pick unique ones that will stand out. Choose a bold colour palette or mixed material pieces, like an ornate or gold mirror over a fireplace.
Lamps, decorative boxes, fresh flowers, antiques or coffee table books are also impactful in any space.
Update Hardware and Re-paint Old, Outdated Cabinets
Refresh and renew kitchen and bathroom cupboards with a fresh coat of paint.
Adding a new set of hardware, like drawer pulls and knobs, can also help complement the new paint colour.
The average cost of this makeover is under $500, compared to installing all-new cabinets, which would likely set you back a few thousand dollars.
These tips and tricks will help you spruce up your home in no time! Whether you are staging your home to sell or want to enjoy your decorating efforts, these inexpensive tips are sure to please.
If you want to sell your home, contact your local REALTOR® today!
Engage the 5 Senses in Home Staging

Staging a home with only furniture and objects is an “easy” task, but it is possible to engage potential home buyers further by staging with all five senses.
Staging this way helps clients feel more at ease and brings the wow factor.
Sight:
Sight is the most crucial factor in staging a home. It is also the easiest sense to activate when selling a home. When staging your home, take into consideration these few things to open up the potential of your home:
- Declutter
- Remove personal items, such as family photos and hobbies
- Open curtains and blinds to promote bright light
- Turn on all the lights in the home to showcase all its great features
- Place ornate decorations around the house to accentuate specific focal points, like a fireplace mantel or window seat
- Start pre-packing
Sound:
While the sound might seem like an afterthought when you think of selling your home, it can significantly impact potential buyers. The quieter the house, the more appealing it is.
- Remove noisy animals
- Replace old loud bathroom and hood fans
- Keep the music low and ambient, and avoid disruptive music
- Ask neighbours to be quiet during showings
- Close windows to alleviate annoying outside noises, like screaming kids and motors
- Fix creaking floors and squeaky doors
Smell:
The home’s smell can either deter buyers or draw them in. When staging your home, keep these things in mind:
- Subtle aromas can enhance a viewer’s experience like candles or essential oils
- Baking some delicious cookies or banana bread would be a good idea
- Remove pet smells, like damp dog or litter boxes
- Avoid cooking anything pungent around showings
Taste:
Baking some delicious cookies or banana bread for the smell can also be set out for eating, activating the taste sense. Presenting people with food always lightens the mood and makes the house feel cozier. If you don’t have time to bake, placing candy or chocolate bars out will have the same dopamine-releasing effect and improve the mood of any potential buyer.
Touch:
As someone who enjoys touching every single fabric or surface in a home or store, touch is a big selling feature. When staging your home, don’t overlook exciting textures and patterns that will allow potential buyers to linger in the area for longer. The opposite effect can happen when grit is on the floor or spills on the counter, which can be off-putting. Take into consideration these key points:
- Clean the walls
- Remove dirt from surfaces of the home
- Include hand sanitizer at the door for a refreshing sensation
By activating all five senses when showing a home, the experience will be more positive, and the chances of selling your home are greater.
If you are ready to sell your home or are prepared to make your next purchase, click here or contact your local REALTOR® to get started today.

